The Eskimo Pie became one of America’s first chocolate-covered ice cream bars in the early 1920s. It was created to combine two favorite treats — creamy ice cream and a crisp chocolate shell — into one convenient dessert. Over the decades, it gained massive popularity because of its simple yet indulgent flavor. Today, making a homemade version allows you to enjoy the same nostalgic taste while controlling ingredients, sweetness, and quality for a fresher dessert experience.
Homemade Eskimo Pie Popsicle Recipe
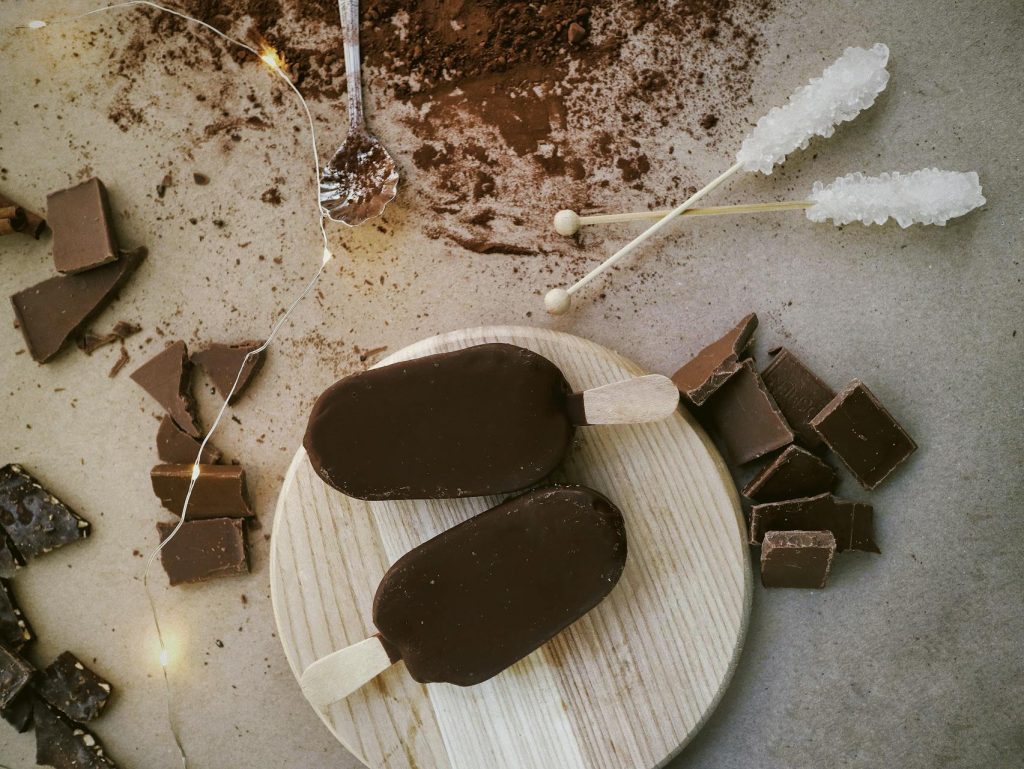
If you love chocolate and ice cream together, this homemade Eskimo pie popsicle recipe is about to become your new favorite treat. These bars feature smooth vanilla ice cream coated in a rich, snappy chocolate shell that cracks perfectly with every bite. The best part? You only need a handful of ingredients and minimal effort to recreate this classic dessert at home. No preservatives, no artificial flavors — just pure creamy goodness.
Things You Need to Make Refreshing Eskimo Pie Popsicles
Main Ingredients
For the Chocolate Coating
Instructions
Steps To Follow
-
Step 1: Whip Up the Cloud-Like Cream
In a large bowl, whip the Heavy Cream using a hand mixer until stiff peaks form. This step creates the light, airy texture that makes the popsicles creamy instead of icy.
-
Step 2: Build the Sweet Vanilla Base
Gently fold in the Sweetened Condensed Milk, Vanilla Extract, and a pinch of Salt. Mix slowly to keep the whipped cream fluffy.
-
Step 3: Pour & Shape the Popsicles
Pour the mixture into popsicle molds, leaving a little space at the top for expansion. Insert sticks and smooth the surface.
-
Step 4: Freeze Until Perfectly Firm
Freeze for at least 6–8 hours, preferably overnight, until the popsicles are completely solid.
-
Step 5: Melt the Chocolate Magic
Combine Chocolate Chips and Coconut Oil in a microwave-safe bowl. Heat in 20-second intervals, stirring each time until fully melted and glossy.
-
Step 6: Dip for That Iconic Crack
Remove popsicles from molds and immediately dip them into the melted chocolate. The shell will harden within seconds, creating that classic snap.
-
Step 7: Final Freeze for Best Texture
Place coated popsicles on parchment paper and freeze for another 10–15 minutes before serving.
Nutrition Facts
Servings 8
- Amount Per Serving
- Calories 300kcal
- % Daily Value *
- Total Fat 22g34%
- Saturated Fat 14g70%
- Cholesterol 55mg19%
- Total Carbohydrate 24g8%
- Sugars 22g
- Protein 4g8%
* Percent Daily Values are based on a 2,000 calorie diet. Your daily value may be higher or lower depending on your calorie needs.
Note
- Use full-fat cream for the creamiest results.
- Let popsicle molds sit at room temperature for 1–2 minutes before removing.
- Add crushed nuts or sprinkles to the chocolate coating for texture.
- Store in an airtight container to prevent freezer burn.
- Avoid overheating chocolate to keep it smooth.
Frequently Asked Questions
1. Can I use store-bought ice cream instead?
Yes! Simply soften store-bought vanilla ice cream, pour it into molds, freeze again, and coat with chocolate. It’s a great shortcut when you’re short on time.
2. Why add coconut oil to the chocolate?
Coconut oil helps thin the chocolate, making it easier to dip. It also creates the signature hard shell that cracks when you bite into it.
3. How long do homemade popsicles last in the freezer?
They stay fresh for up to 2–3 weeks when stored properly in a sealed container.
4. Can I make these dairy-free?
Absolutely. Substitute coconut cream for heavy cream and use dairy-free chocolate for a delicious lactose-free version.
5. Why are my popsicles icy instead of creamy?
This usually happens when there isn’t enough fat in the mixture. Always use full-fat cream and avoid adding extra liquids.